Capturing the Night: Essential Techniques for Night Photography
Night photography presents unique challenges but also offers the opportunity for stunning and dramatic images that are impossible to capture during the day. From vivid streaks left by moving cars to the serene beauty of a star-filled sky, mastering night photography can immensely diversify a photographer’s portfolio. Here are some essential techniques and considerations to help you capture the enchanting beauty of the night.
Understanding Exposure Settings
One of the foundational elements of night photography is the understanding and manipulation of exposure settings. Since night scenes are typically low-light situations, it’s crucial to adjust your camera settings accordingly to allow more light to hit the sensor without compromising the image quality.
- Aperture: A wider aperture (low f-number) allows more light to enter, making it ideal for night photography. Lenses with apertures of f/2.8 or wider are highly beneficial.
- Shutter Speed: Longer shutter speeds are necessary to capture more light. However, this can also lead to motion blur if the camera or subject moves. Using a tripod can mitigate this issue.
- ISO: Increasing the ISO setting makes your camera sensor more sensitive to light. Be cautious, though, as higher ISOs can introduce noise to your photos.
Using a Tripod
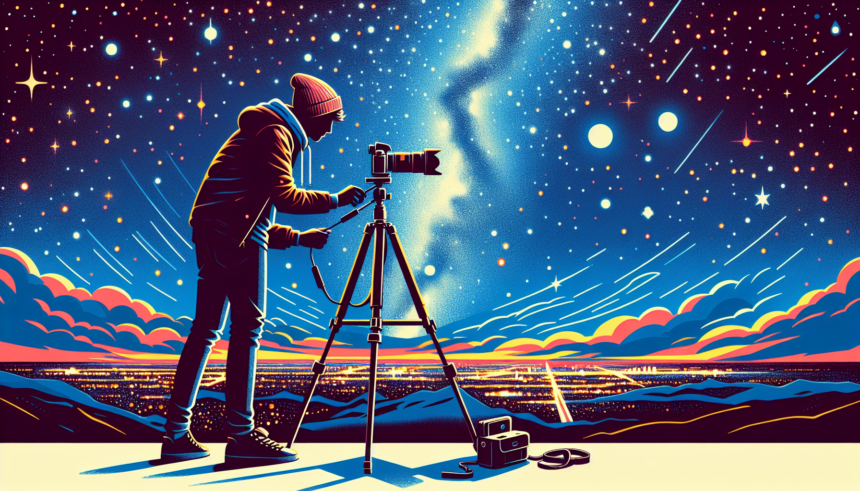
Stability is key in night photography to avoid blurry images, especially when using long exposures. A sturdy tripod not only offers the needed stability but also allows for precise framing and alignment of your shots. For the ultimate sharpness in your photos, using a remote shutter release or your camera’s timer function to eliminate camera shake when pressing the shutter button is advisable.
Experimenting with Long Exposures
Long exposure photography can transform a night scene into something magical. It’s particularly effective for capturing light trails from cars, smoothing out water surfaces, or creating a sense of movement in the clouds. Experiment with different shutter speeds to see how they affect the motion and light in your images.
Manual Focus
Autofocus systems can struggle in low-light conditions, leading to missed focus or longer times to achieve focus. Switching to manual focus gives you control over the focal point of your image. Using the live view function on your camera, if available, can help with precision focusing, especially in very dark environments.
Shooting in RAW
Shooting in RAW format captures more detail and allows greater flexibility in post-processing, which is vital in challenging lighting conditions like those encountered at night. It enables you to correct exposure, enhance colors, and reduce noise more effectively than with JPEG files.
Exploring Light Sources
The night isn’t just about the absence of daylight; it’s also about the myriad of artificial light sources that can add interest and atmosphere to your photos. Explore how different light sources, such as street lamps, neon signs, or even the moon, can illuminate and add color to your scenes. Balancing these light sources within your compositions can turn a good shot into a spectacular one.
Patience and Practice
Perhaps the most important technique in night photography isn’t technical at all—it’s patience. Waiting for the perfect moment when the light and the scene align can sometimes take hours. Combine this patience with regular practice, and you’ll see your night photography skills flourish.
With the right techniques and a bit of practice, night photography can unveil a whole new world of creativity. Embrace the challenges and the unique conditions the night offers, and you’ll be rewarded with extraordinary images that captivate the beauty of the dark.


